
miniStack drive setup on Windows 98SE / Windows ME System

STEP 1
Connect your new FireWire drive to your system. Right-click on "My Computer" and select "Properties".
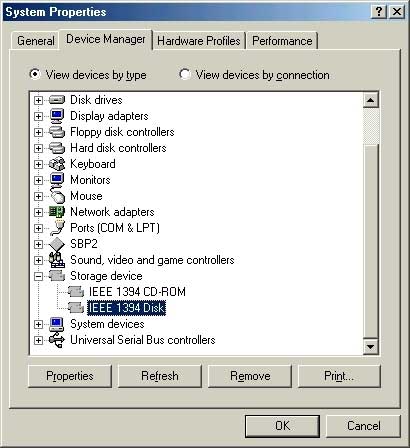
STEP 2
Make sure that your system "Device Manager" detects the "IEEE 1394 Disk" or "BSP2 Compliant Device".
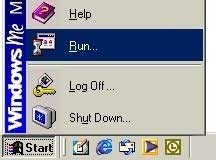
STEP 3
Go to the start menu and select "Run".
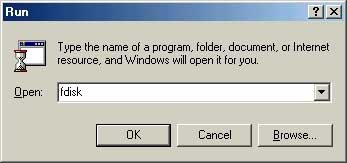
STEP 4
Type in "fdisk" to start the Fixed Disk Setup Program.
STEP 4
Type in "fdisk" to start the Fixed Disk Setup Program.
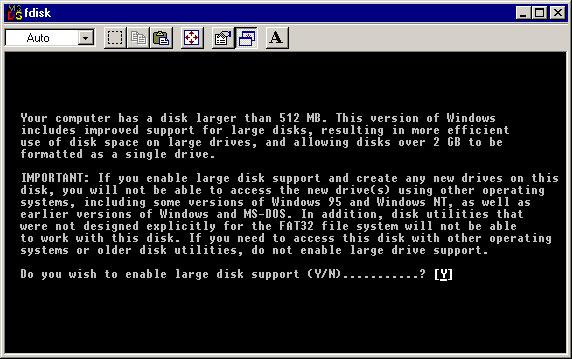
STEP 5
At the following screen, accept the default value of 'Y' and hit return.
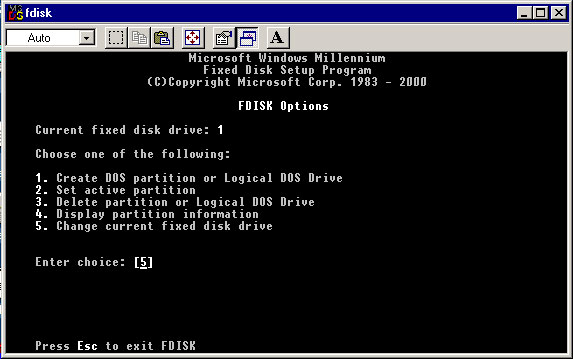
STEP 6
Choose option #5 and hit return.
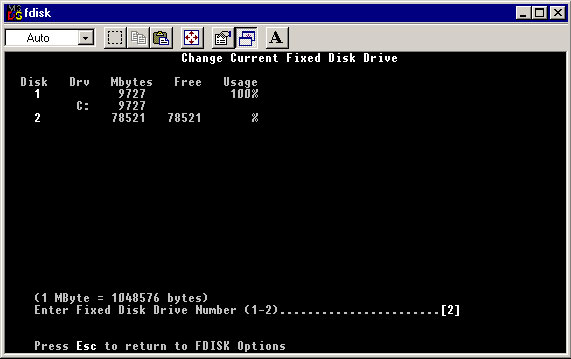
STEP 7
Your screen should look something like the one to the right. In addition to your C drive, you should see another volume that does not have a drive letter associated with it. In this case, the drive listed as #2 is the new hard drive. Since 2 is the new drive, enter 2 at the prompt and hit return.
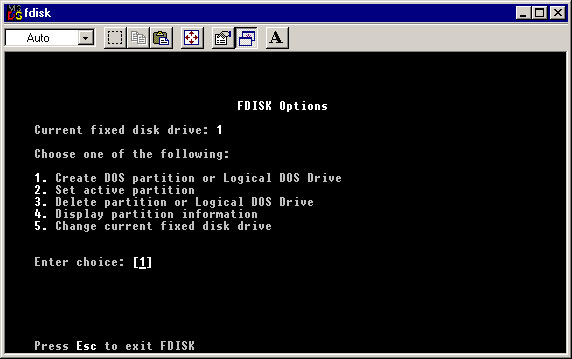
STEP 8
Now choose option #1 to create the partition on your new hard drive.

STEP 9
Select option #1 to create a Primary DOS partition and hit return.
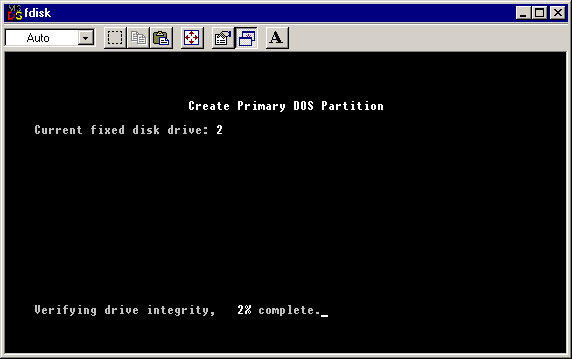
STEP 10
A screen like the one to the right should appear. Progress will be reported at the bottom of the screen.

STEP 11
Select the default, 'Y' at the following screen. After this screen you need to exit FDISK. You will need to reboot your computer before it will see your new drive. Reboot it now.

STEP 12
When you open the My Computer icon, you should see your new drive located near your C drive. When you double click on the icon, you will see a window like the one below. Select 'Yes.'
STEP 13
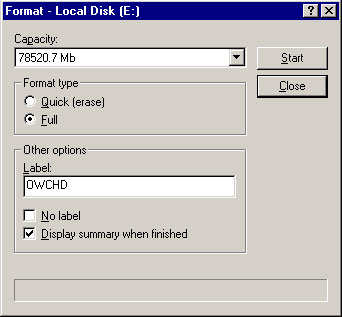
Select the options as indicated in the following screen shot. You can make the Label whatever you like. A quick format will not be possible on the drive. Click 'Start' to format the drive.
STEP 14
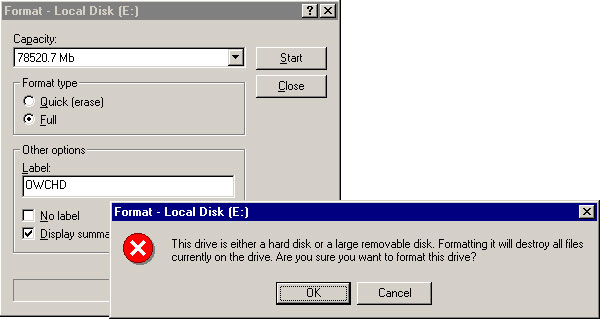
You will see a confirmation screen before you can begin the format. Click 'Ok' to begin.
STEP 15
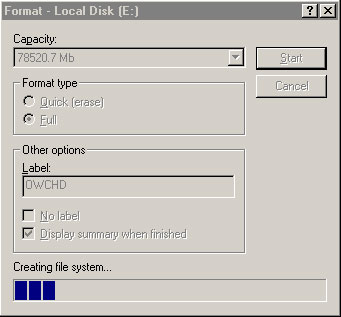
The window will show a progress bar as it formats your hard drive.
STEP 16
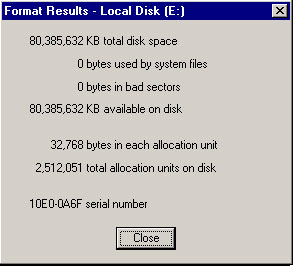
Once formatting is complete, you will see a screen like the following. Simply click "Close".
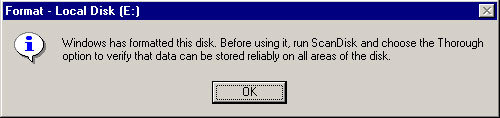
STEP 17
The following message will come up. If you feel energetic, go ahead and run scan disk.
Whether you run scan disk or not, your drive is now usable. Use it as you would any other hard disk.
If you need to disconnect the hard drive, be sure to use the eject tool located in your icon tray. FireWire and USB drives must be properly dismounted from the system prior to being unplugged to prevent data corruption.