
Vista External Drive Formatting and Setup
STEP 1
Connect the external drive to your PC and turn the power on. You will notice that the drive doesn’t show up in "Computer". This is because you will need to initialize the drive and format it first. The following instructions will go through this process so that your external drive will show up in "Computer".
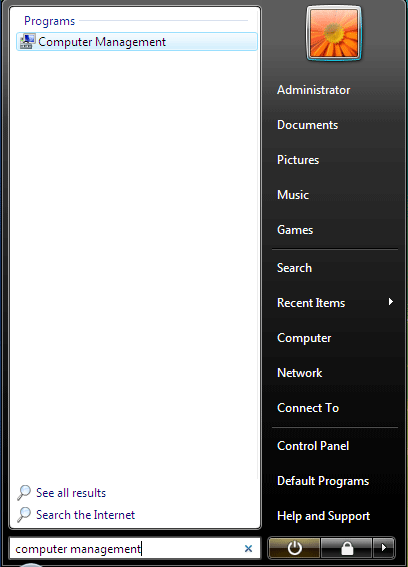
STEP 2
Click in the Search box at the bottom and type "computer management". This may take a while depending on the speed of your computer however it will eventually show up in the programs list. Click on "Computer Management" under programs.
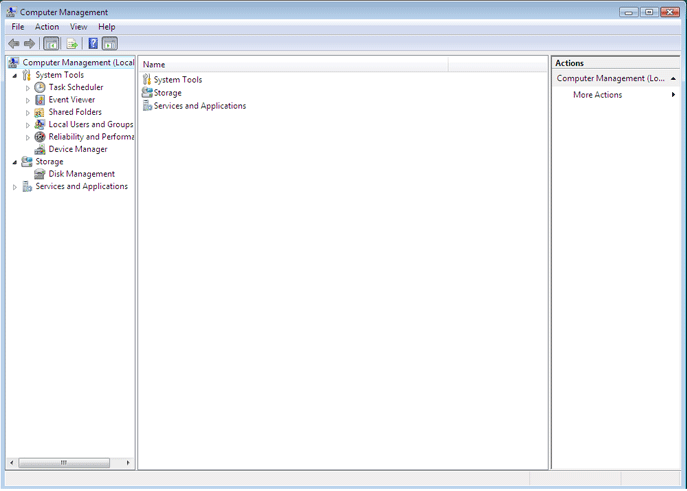
STEP 3
Next click on "Disk Management" under "Storage". You might have to click the triangle next to "Storage" to expand the directory. You may get this pop up, if you do skip to step #4. If you didn’t get this pop-up please proceed to the next step.
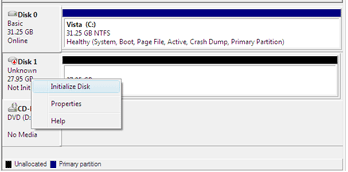
STEP 4
If you didn’t get the pop-up in step #3 right click on the new disk where it says "Unknown" and hit "Initialize Disk".
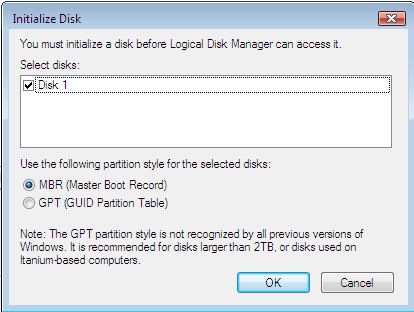
STEP 5
Click "OK"
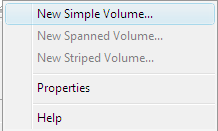
STEP 6
Now right click in the white area to the left of the area that specifies the disk size. It is the area to the left of where you right clicked in step #3. Just right click on and select "New Simple Volume..."
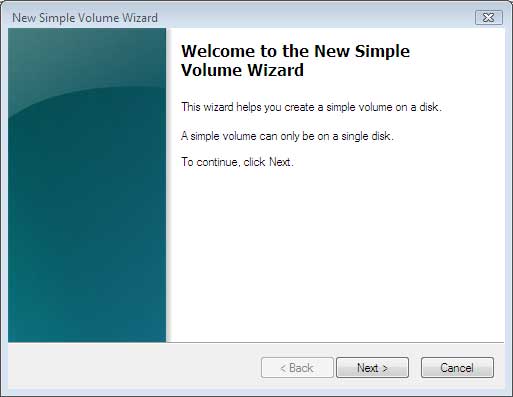
STEP 7
On this pop-up click "Next".
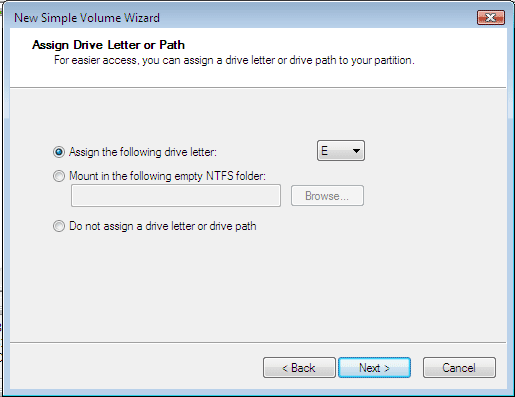
STEP 8
Click "Next" again.
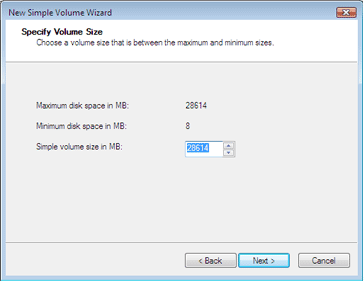
STEP 9
Hit "Next" again.
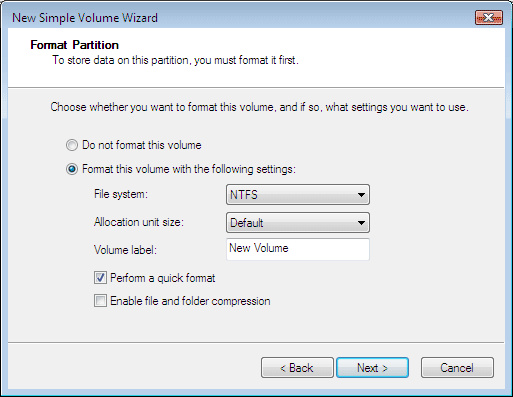
STEP 10
Here you can change the File System if you like "NTFS" is the default. Put a check on the box or "Perform a quick format" Then click next.
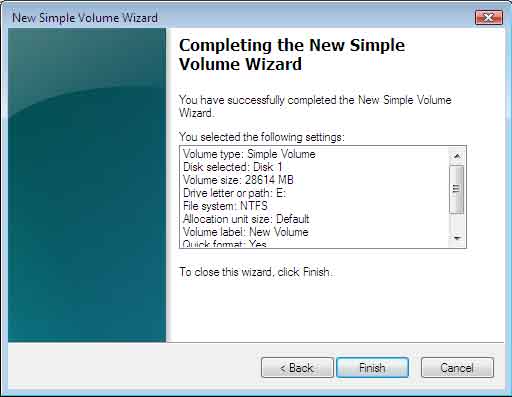
STEP 11
Now click "Finish".

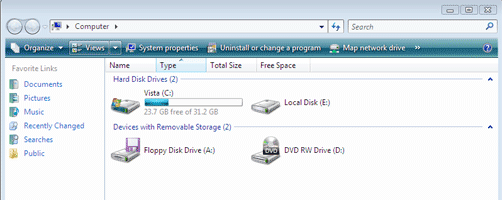
STEP 12
You should now see that the disk is formatting. Once the format is complete drive should show up in "Computer" as pictured below.